Little Prynter
Posted
The backstory
A few years ago, a friend of mine showed me the Little Printer, created by Berg Inc. I loved the ideal of having what was more a less a fax machine, that I could use to print out anything for very very cheap. It’s based on a thermal printer, so it doesn’t use any ink, and the paper is the same you would use to print out receipts. The issue was that it cost nearly 300€ (!), and that was way too much money for something that was a gimmic.
Moreover, it was pretty limited : it was tied to a proprieatry cloud system, and what I feard back then became true. Berg stopped supporting the Little Printer, and the whole ecosystem was now ready to become trash.
Thankfully, the Nord Projects design studio hacked it back to life, and wrote a new app ecosystem for it. But it’s cumbersome to setup, and getting your hands on the original Little Printer isn’t easy.
A more personnal quarrel I have with designers is perfectly represented in the Little Printer project : It’s a very beautiful object, but it’s severly limited by it’s design. You are expected to use it as a Little Printer, even after it’s death. Using it in another setting is difficult because it’s fragile. You can’t really sell it or repurpose it once you’ve grown board with it. You would need to explain how to set it up, bring the little IoT box with it, etc…
I still liked the idea.
Hacking in it, to try it out.
Another friend, whom I was visiting, had a thermal printer in his box of things-that-gather-dust and was happy to lend it to me so I could try it out. I started to build my own Little Printer.
I wanted to build something KISS ( Keep It Super Simple ), easy to replicate, and that I could eventually build on over the years. Using existing components and combining them together in a way that was easy to reverse was also a priority. I had a Raspberry Pi, a computer running Linux, a USB webcam, and a Adafruit Thermal Printer.
The first thing was to learn how to use the thermal printer.
Thankfully, Adafruit has tutorial on how to build a polaroïd camera with a thermal printer, which I followed and built a first version of the little printer. It was nice, but had a few issues :
- The printer was super cheap, and wasn’t very reliable. It often printed gibberish, and needed to be restarted.
- It only had a serial connection, and it wasn’t possible to know when the paper ran out.
- The library I was using hadn’t been updated in ages, and needed a CUPS driver dowloaded from a random chinese website. I tried using newer forks, but they didn’t seem to fix the problems mentionned above.
Even with theses issues, I knew that thermal printing was a cool tech, and I could use it for a lot of my other printing and propaganda projects. So I started looking for another thermal printer.
Making it serious
I eventually settled on an EPSON TM20-III, which is around 250€. Nearly the same prince as a LittlePrinter, but it has Ethernet, a standard-ish protocol, USB, two sizes of paper, a cutting blade, 300 dpi resolution, and prints so fast that when you fuck up the orientation of the print, before you can stop it, it already printed 3 meters of paper. In a word, it’s perfect. I then bought 4 kilometers of paper for around 50€. Also keep in mind that these printers are used around the world in industrial settings, and if you know how I’m sure you could find one for very cheap or second-hand.
I wanted to write the software in Python, because I found a very nice library for ESC/POS, the standard used by the EPSON printers. I also had built software with Flask, a python web framework, and I loved the design style and the ease it gave to build APIs.
After a few days of hacking, I finally had a complete photomaton that could be accessed from anywhere, printed anything for dirt cheap, and that I could easly extend.
There was Little Prynter.
How the code works
The program starts thanks to a bash script, run.sh, that starts a Python virtual environnement, install the dependencies and runs the server with the good environnement variables.
It will in turn, call the flask command, that will launch a developpement server with the main.py file as it’s starting point.
This file will define the routes that will be accessible on the server.
The main.py file will start by loading the configuration file, and then try to connect to the printer via the Printer class.
configuration_file = toml.load("configuration/config.toml")
The tricky thing about connecting via USB is that you need the USB vendor and device ID loaded, but they are encoded in hexadecimal. So we pass thoses options to the Printer class, that will initiate a new global connection to the Printer.
It’s faster this way, but we could open a new connection each time instead, in the Web class for example. The continus connexion sometimes hangs up, making it necessary to restart the software. On the other hand, we might get a concurent connection to the printer if two people try to print at the same time. Implementing a queue could solve this.
# Printer connection
# Uses the class defined in the printer.py file
printer = Printer(app,0x04b8, 0x0e28)
printer.init_printer()
This class will mainly load the escpos library that does all the heavy lifting will connecting to the printer. It also defines to methods to print texte and an image. To note, the library, at time of writing, did not have the exact printer I have in it’s database, but instead a close relative of it, which works well enough.
The web interface part is handled just after, in a Web class that makes heavy use of Flask, a Python framework for easily bulding web servers. I’ve learned how to write it thanks to Miguel Grinberg’s Flask Mega Tutorial, it’s great and you should read it if you plan on writing anything based in Flask.
The web class handles calling the printing of the images via the Printer class I mentionned earlier. It’s also goint to call the User class to manage the login and logout of users, if needed.
def print_sms(self, texte, sign: str):
      self.app.logger.debug("Printing : " + str(texte) + " from " + str(sign))
      if not os.getenv('LIPY_DEBUG'):
          time.sleep(1)

      return self.printer.print_sms(texte, sign)
Finally, the Main class defines the routes that are callable, such as the main page ;
@app.route('/')
@limiter.limit("1/second", override_defaults=False)
def index():
    app.logger.debug("Loading index")
    return render_template('index.html')
You can see that we are rate limiting each route thanks to the limiter package, that extends Flask itself. We are also using Jinja2 to manage the rendering of the web pages, which use normal HTML and CSS, altought we use BootStrap 3 for the user interface.
The Jinja 2 templates ( or HTML pages ) can be found in the template/ folder. Some are partials, mening that they are reused in other templates.
A few pictures to show it off ;
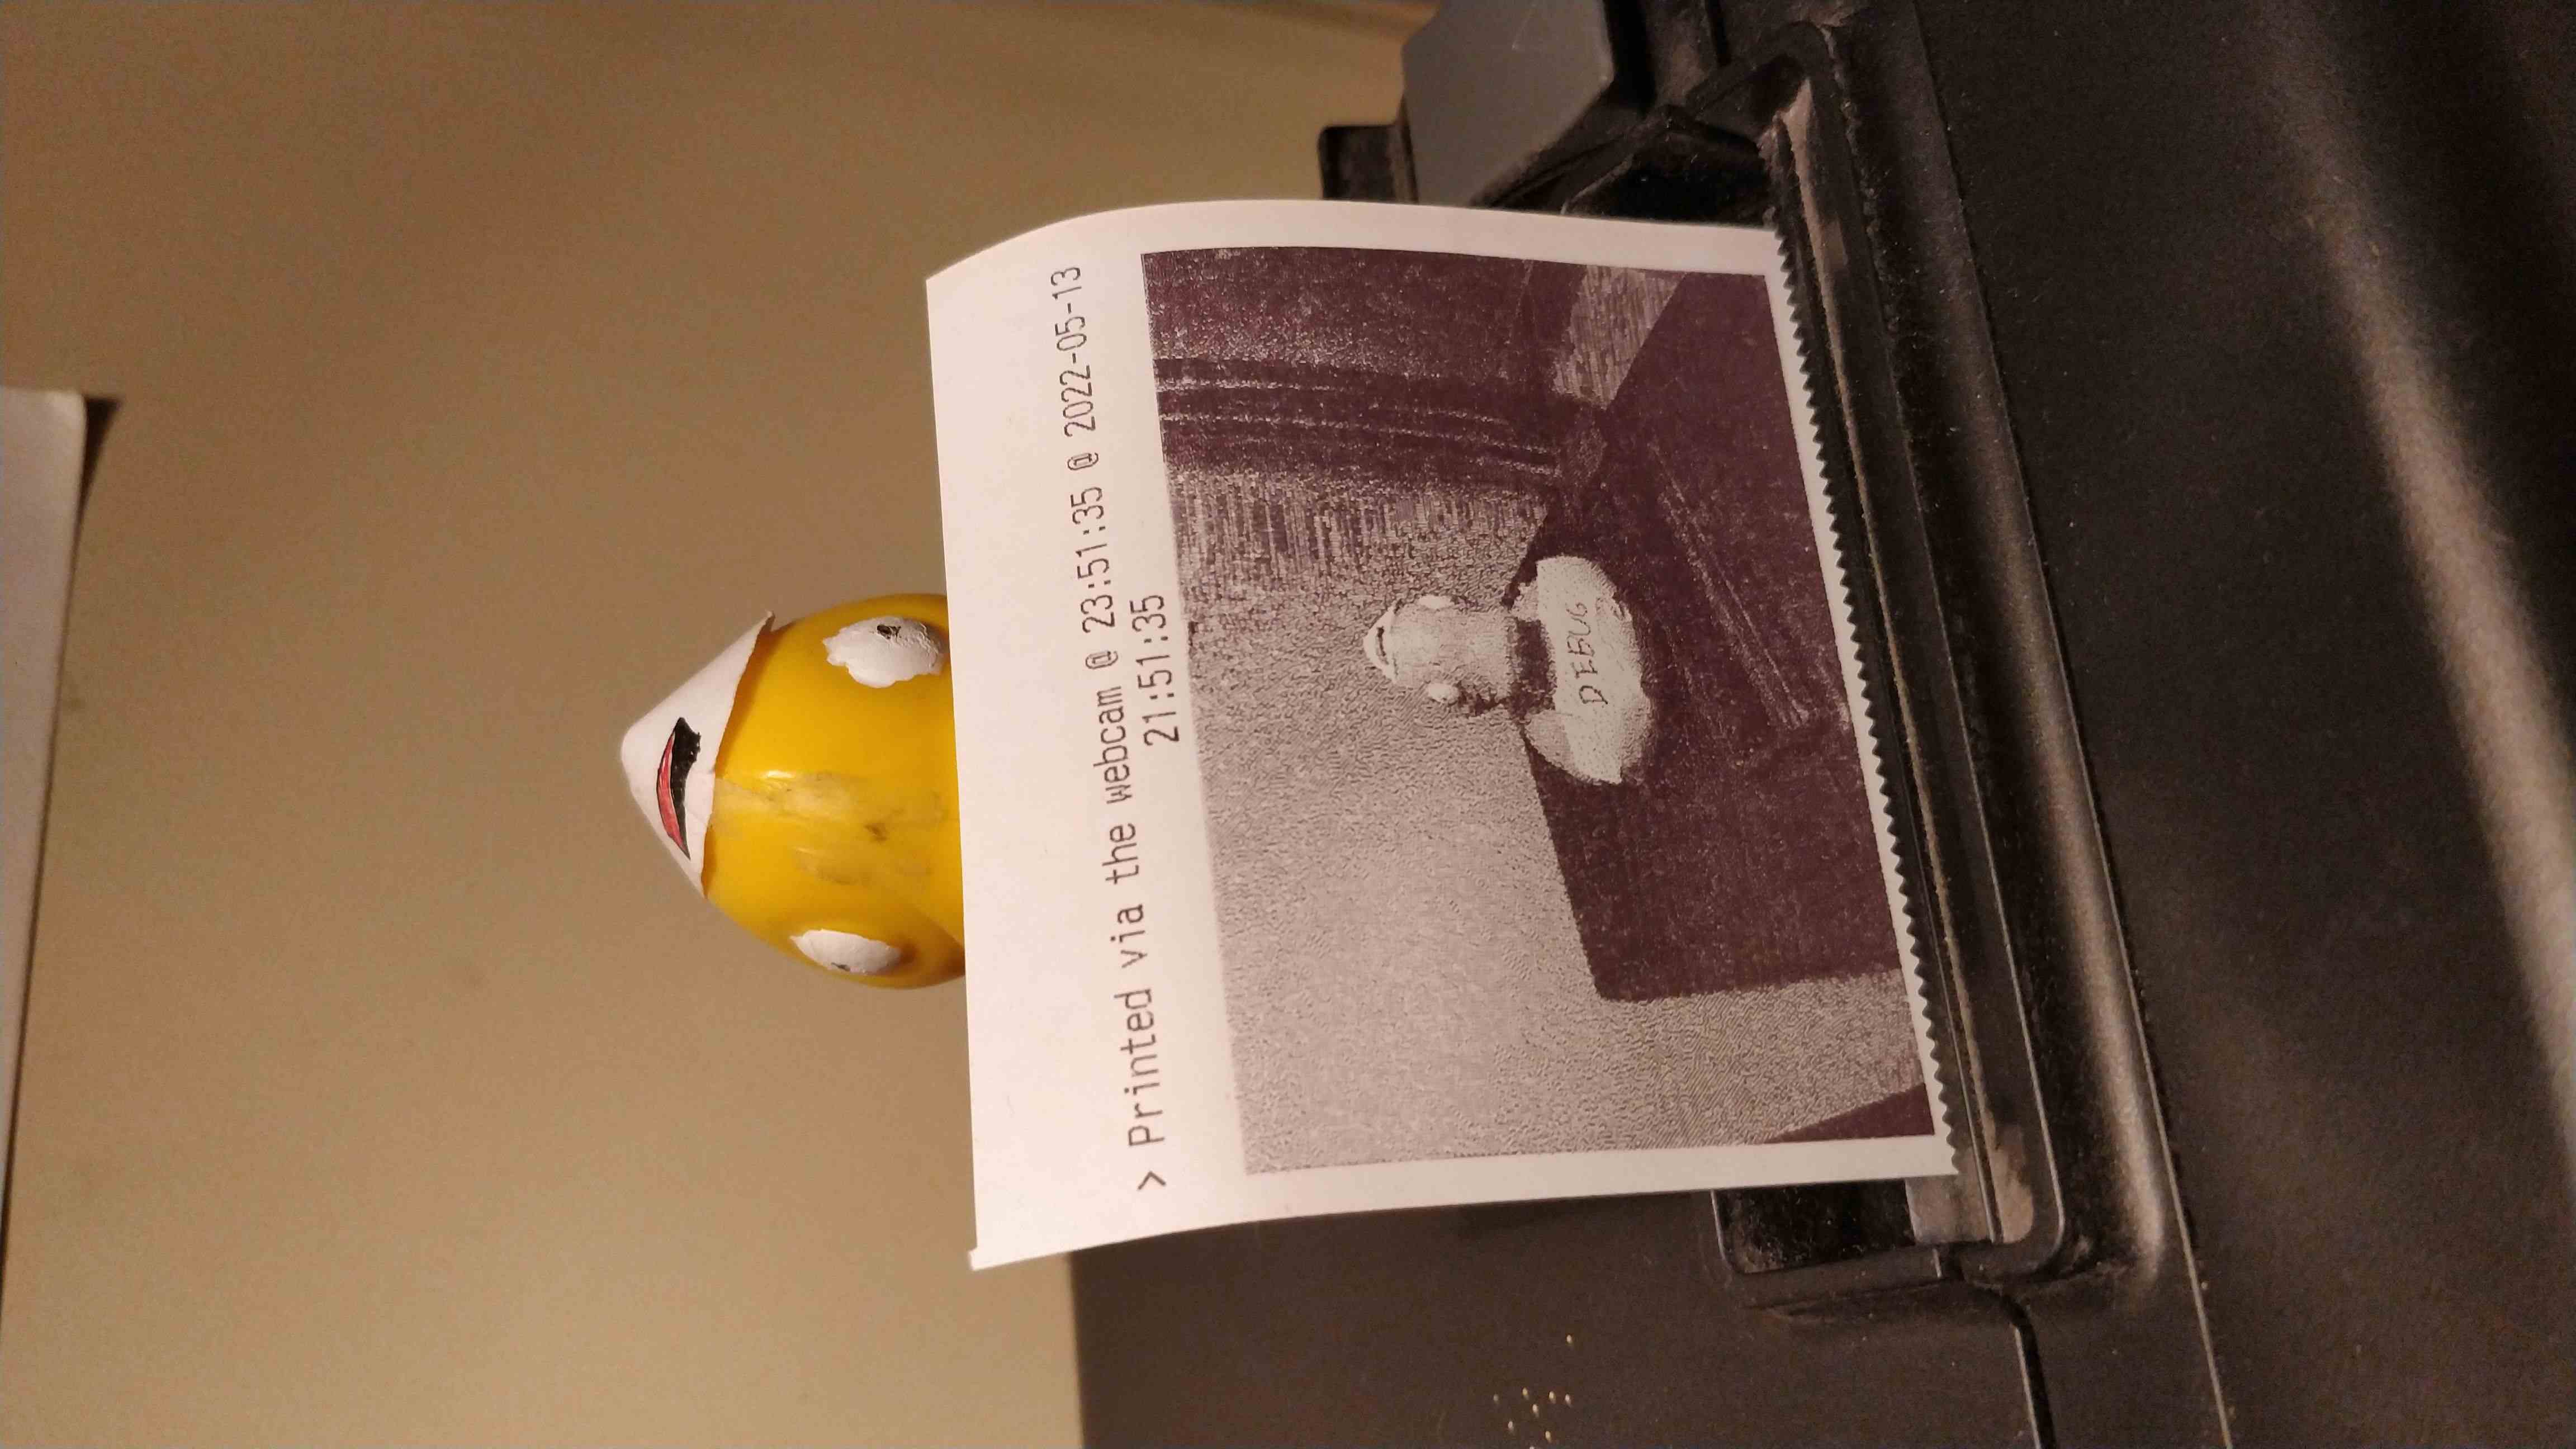
A picture of rubber duck on a thermal printer
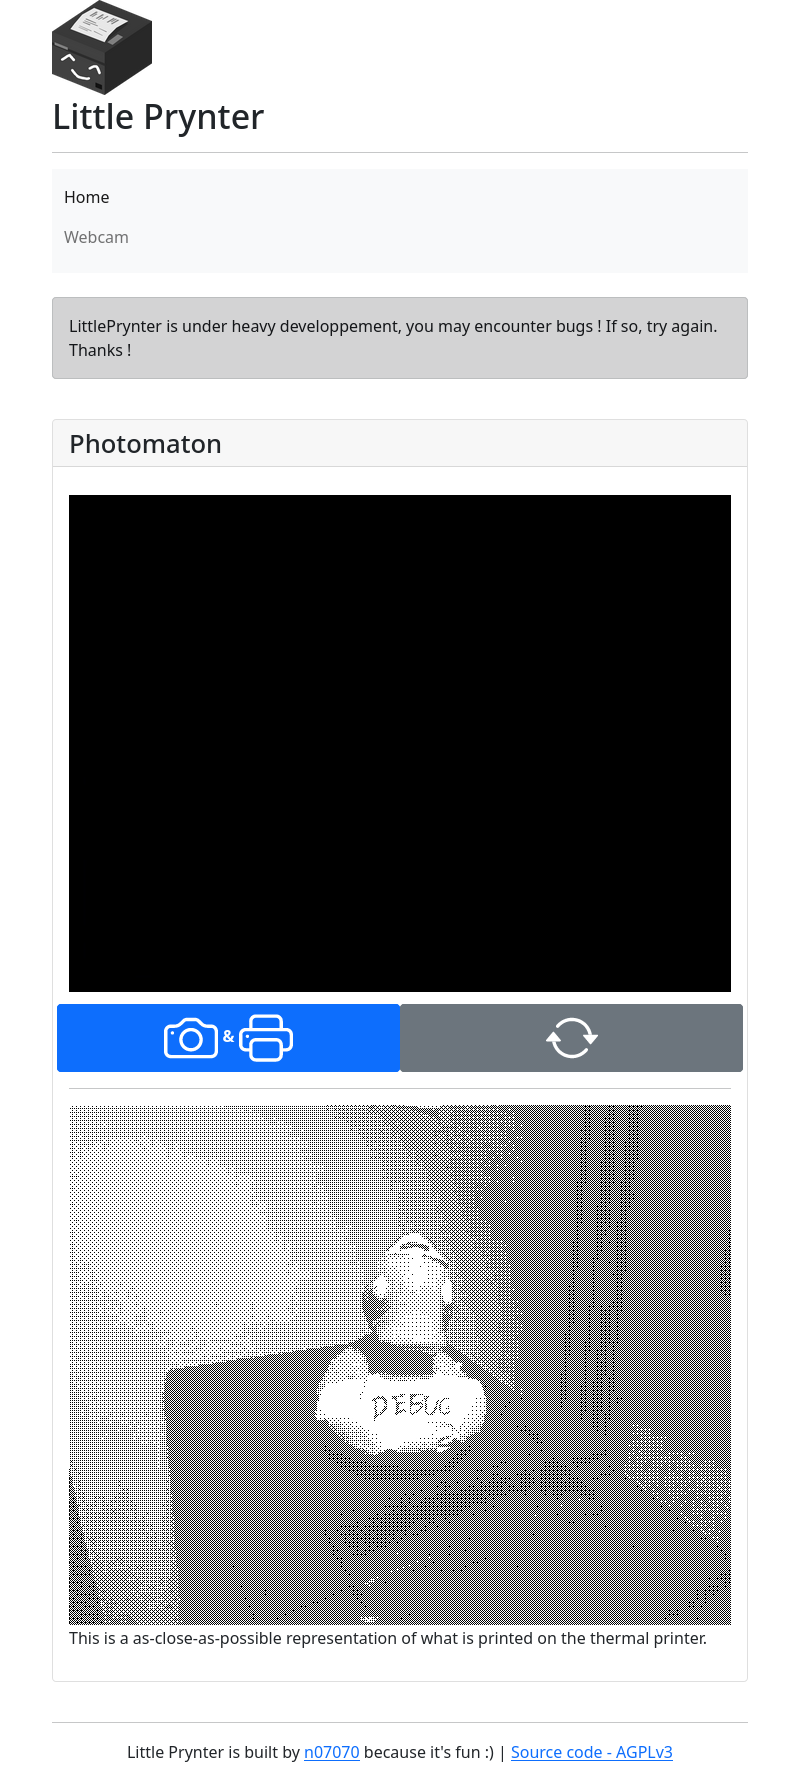
A picture of the web interface
I also paid attention to the git repository I was writing this code to, and I provide instructions on how to set it up if you want to. You can find it all here : Little Prynter @ git.n07070.xyz.
In the future
I would very much like to make it portable, and maybe add some flash device to it, so it can be used in dark settings. Maybe keeping the image in cache, dithering it and offering a downloaded version would be nice too. Maybe offering a reprint so every one can have one, printing them by bunch of 4 like a real photomaton might do the trick.